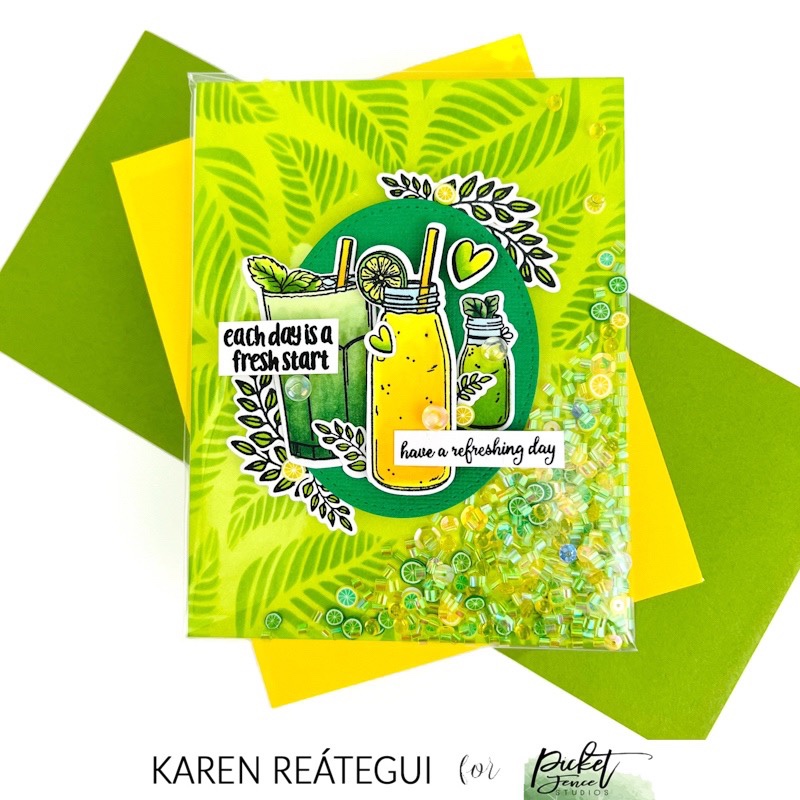
Hello friends! I’m so excited to be part of the July 2022 Release from Picket Fence Studios. We have beautiful products at the shop that you are going to love! I have made some samples that you will be able to see below.
And to make this celebration event more fun we have a fabulous GIVEAWAY! We have three certificates to PFS store for three lucky winners and they will be announced on July 20th. In order to enter this giveaway, you have to follow PFS Instagram and leave a comment at the July 2022 Video Release and Giveaway post, click here. That’s it, very easy and you can win any of this three vouchers: $25, $50 and $75. Good luck my friends!
Please enjoy all my creations and I hope I can inspire you today with any of the cards I made with so much love .
Below you will find all my affiliate links to all products from this release at no cost to you. Thank you so much for stopping by and happy crafting!
We’re so happy to be launching a new release for April. We have so many different products that you are going to love and I made 5 cards to inspire you.
We also have a GIVEAWAY over PFS IG and YT and you can win any of the 3 store certificates that they are giving away. If you want to participate just follow PFS Instagram and YouTube accounts and leave a comment at any video release or Giveaway post. Good luck!
You will find all links to products at no cost to you at the bottom of this post. Thank you so much for stopping by and I hope you can try any of these cards and have fun.
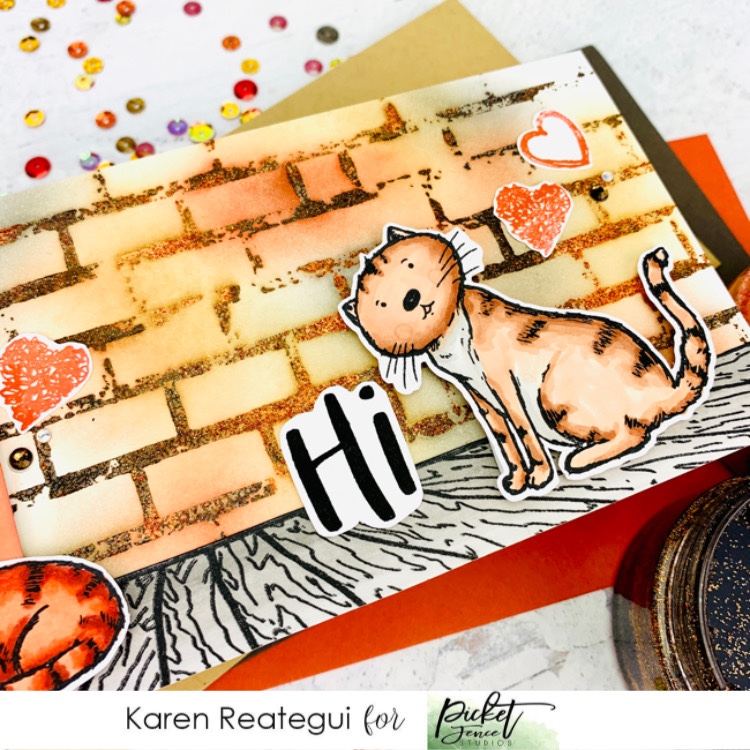
Hello my Cat lovers 🐈! We are so excited to bring this exclusive stamp from Picket Fence Studios to the STAMPtember celebration!
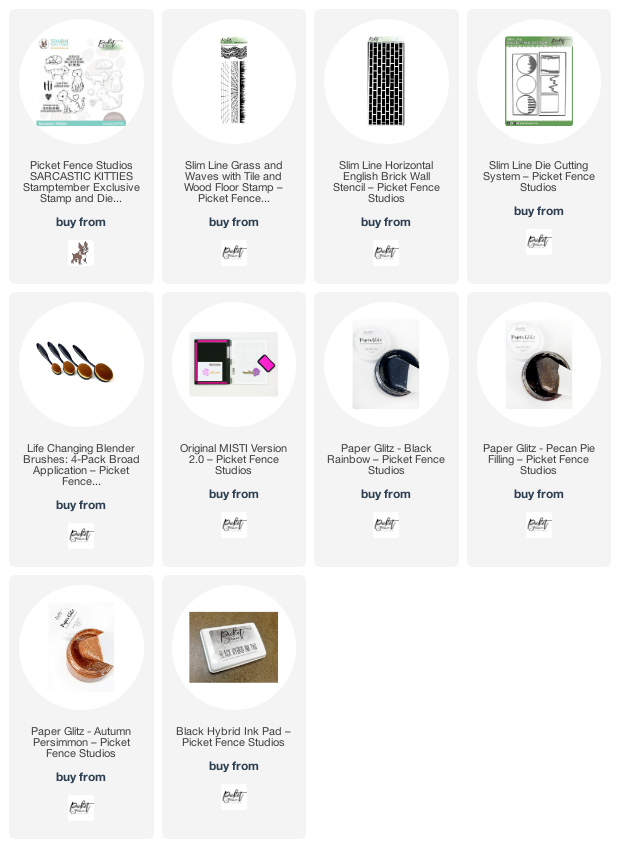
This adorable and sweet stamp is called Sarcastic Kitties and it has the coordinating dies available at Simon Says Stamp shop.
And this is the slimline card that I created with the Sarcastic Kitties stamp. Additionally, I used the Slim Line Die Cutting System, Slim Line Horizontal English Brick Wall Stencil, Slim Line Grass and Waves with Tile and Wood stamp, Life Changing Blender Brushes and our new medium, Paper Glitz.
Below you will find all pictures and close ups from this card. Enjoy!
Remember that this stamp set once it’s gone, it’s gone forever. So hurry up to get yours and I really hope you have a crafty time!
Below you will also find links to all supplies used to make this card.
Hi crafty friends! Today I’m super excited because we are celebrating another release from Picket Fence Studios. You are going to love the new products. Below you will find the cards I made using this release.
There’s also a wonderful GIVEAWAY. We have three prizes for three different winners. In order to participate you have to subscribe to our YouTube channel and leave a comment at Lisa’s video release, click here.
The 7 in 7 event is also coming with this September release and today we have Lydia Fiedler going live at 2:00 pm Central Time over PFS Facebook Group so be sure to join the group to attend the event.
I hope I can inspire with all the cards I made. Take a look below.
See you next Friday at the 7 in 7 event. I’ll be teaching a free class. Hope you can join us over Picket Fence Studios Facebook Group at 6:00 pm Central Time.
Thank you so much for stopping by and you can find all links for the new products from this release below at no cost to you. Have a wonderful and crafty day!
Hello crafty friends! Today we are celebrating a new release from Picket Fence Studios. We have lots of wonderful products that you are going to have so much fun playing with. Also, there’s a fantastic GIVEAWAY over Picket Fence Studios Instagram account that you cannot miss.
Winners will be announced in August 18th over PFS Instagram account.
Below you will find all the cards are made using this new release. I hope you like them ❤️
And the 7 in 7 event is back!!! YAY 🥳 We had so much fun last month that we decided to have another event again. The Design Team and the owner of Picket Fence Studios will be teaching 7 classes in 7 days and they are FREE! Yes, you read that well! Also, you can win a $50 gift card GIVEAWAY each day. So if you want to participate in the giveaway just join the PFS Facebook Group and leave a comment during any live.
Winners will be announced in August 21st over PFS Facebook group.
Next is the list of all products from this August 2021 Release and these links are at no cost to you. Have a wonderful weekend!
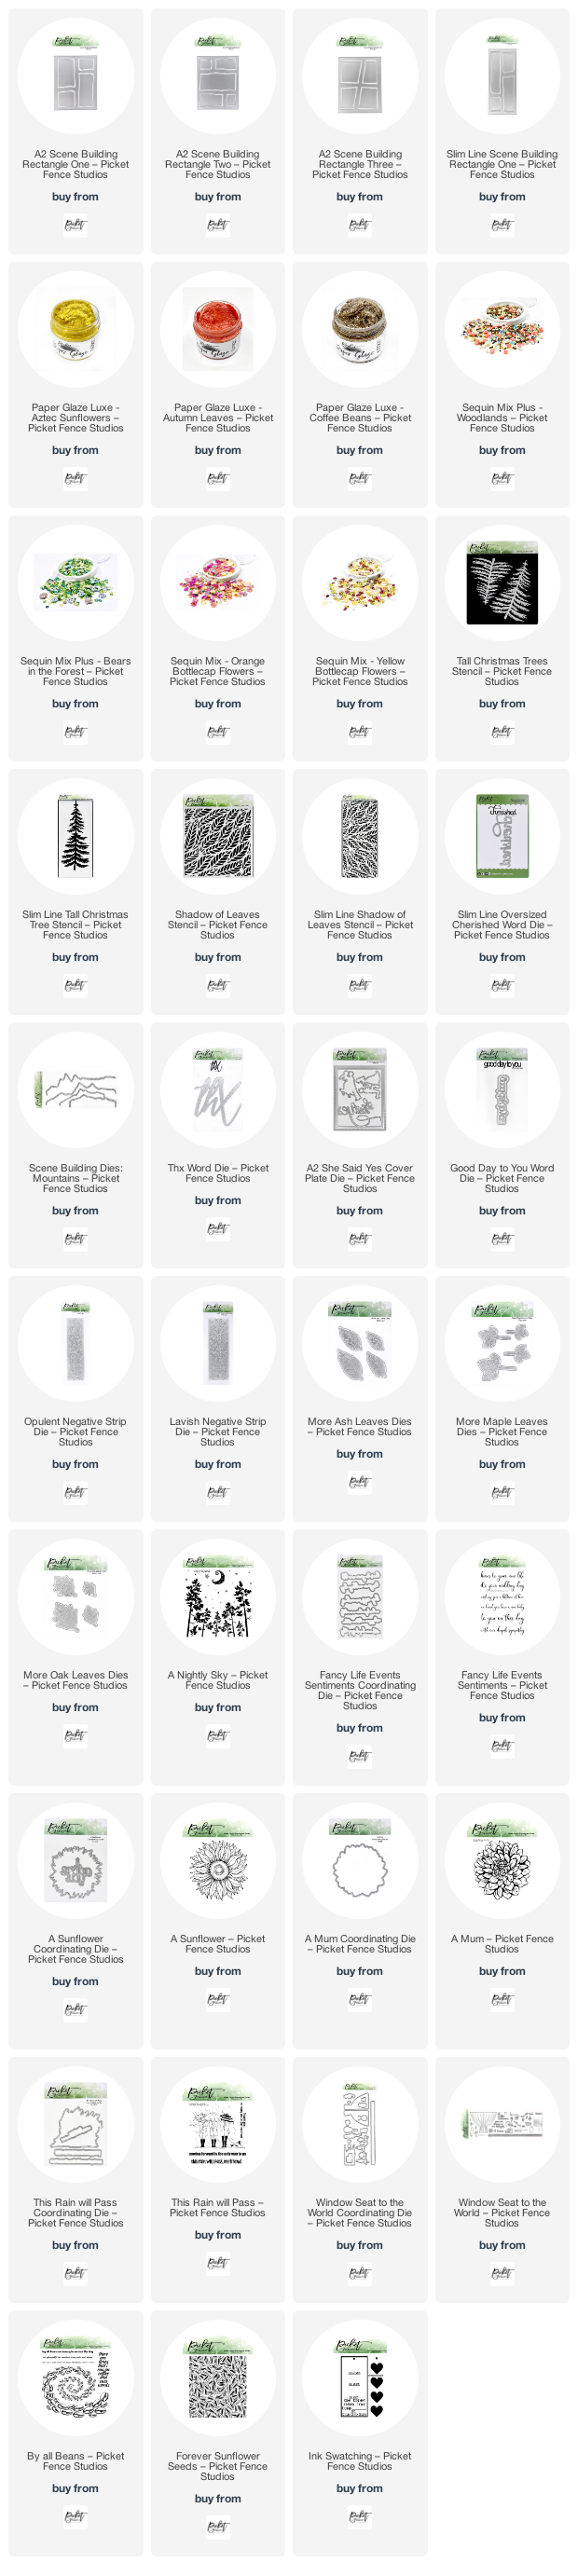
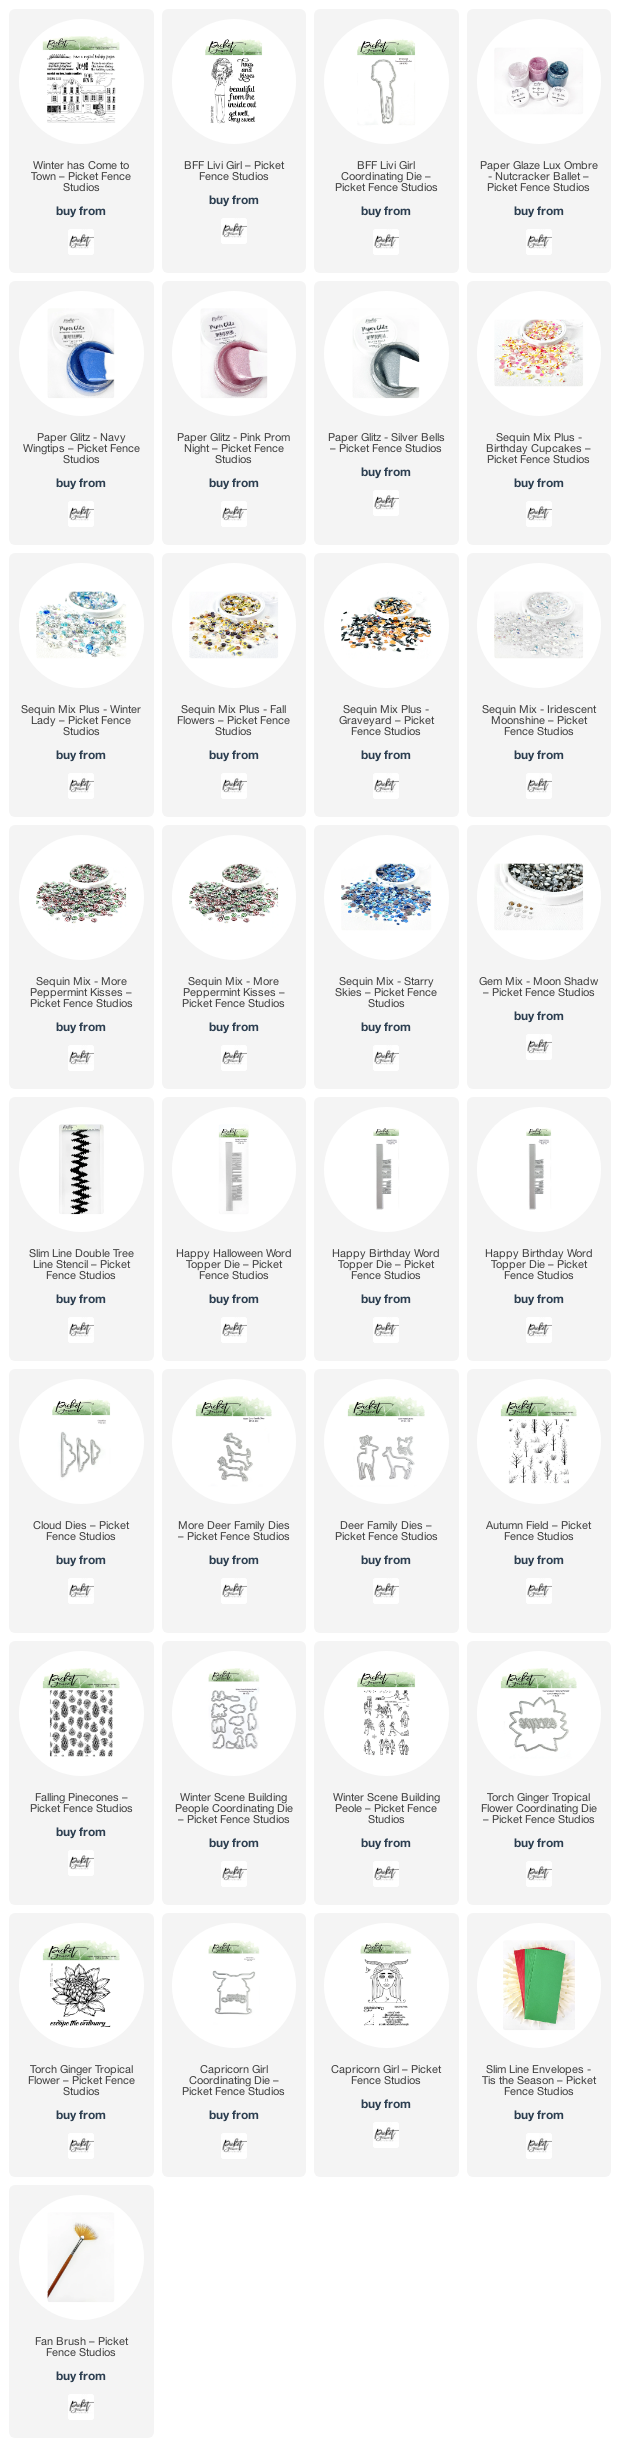
We are so excited to be launching this July 2021 Release from Picket Fence Studios. There are many Christmas goodies and so much more that you are going to love! Also, we have a new Paper Glitz Collection in different colors with lots of glitter. Additionally, there are new Paper Glaze Ombre sets with Fall and Christmas colors that you are going to enjoy!
And this big celebration also has a wonderful GIVEAWAY! You can win the stamps and dies you see below plus a Paper Glaze Ombre set, a Paper Glitz and a Sequin Mix Plus of your choice. The prize value is over $150. Winners will be announced next week. Good luck!
I have created several cards using this release and I had a wonderful time! You can see each card below and you will also find the complete list of new products at the bottom of this page. Affiliated links at no cost to you.
Here we have our new gnome die!
There’s another gnome and Paper Glaze in the background.
This slimline shows you our new Santa’s Snowy Hills Die along with our Christmas stamp A Happy Winter To You.
We also have new Word Topper Dies and sequins!
Here you can take a look at the new Paper Glitz.
You like Christmas tags? Well, here we have a set called Holiday Gift Tags Die and I even made shakers using these tag dies.
I used O’ Christmas Tree Sequins Mix Plus on this shaker.
I used Icicles Sequins Mix Plus on this shaker.
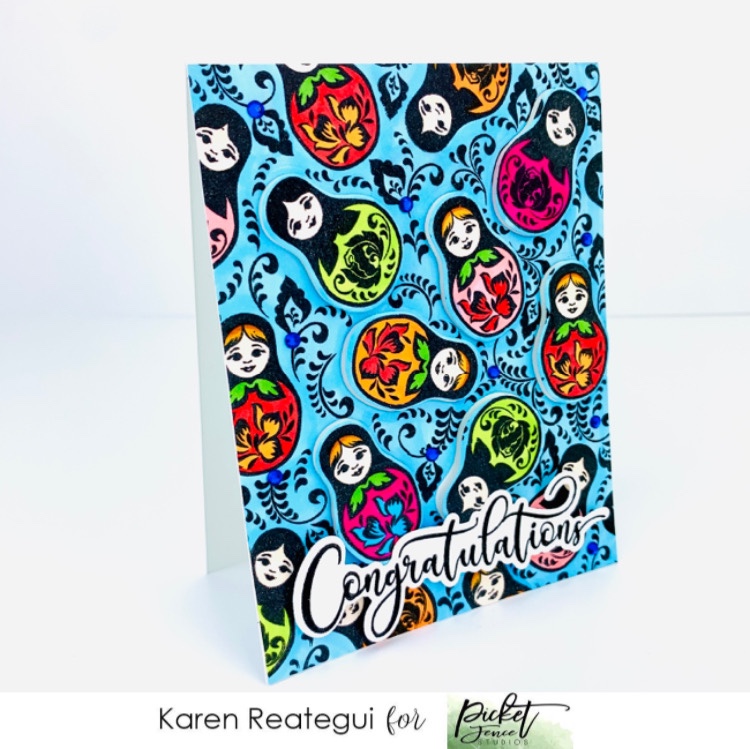
This Nesting Dolls Stamp just got my heart ❤️
Fall cards are one of my favorites! I used the pumpkin from Jack-O-Lantern Stencil to create this card 🧡
And my last card features Paper Glaze Ombre Polar Ice Layers
You cannot miss the 7 in 7 event and it starts today! Nicole Petersen will be teaching tonight July 14th at 6:00 p.m. Central time over our Facebook Community Fanpage. Each day we are also having a $50 gift card GIVEAWAY for a lucky winner. You just need to join us and leave comments. Please be sure to join our FB Group in order to attend this event each day. I’ll be teaching a class tomorrow so see you soon. And remember these classes are FREE 🤩
Welcome to an AECP Family Hop where we are sharing the Altenew Academy class which has inspired us the most.
We are all at various points in our AECP journey, but we are united in wanting to celebrate the inspiration and knowledge we’ve gained from the classes in Altenew Academy.
~~~~~~GIVEAWAY~~~~~~
Altenew is generously sponsoring this hop and to be in with a chance to win one of FOUR $25 gift certificates to their online store. You will find all details and the hop list of designers over my IG account.
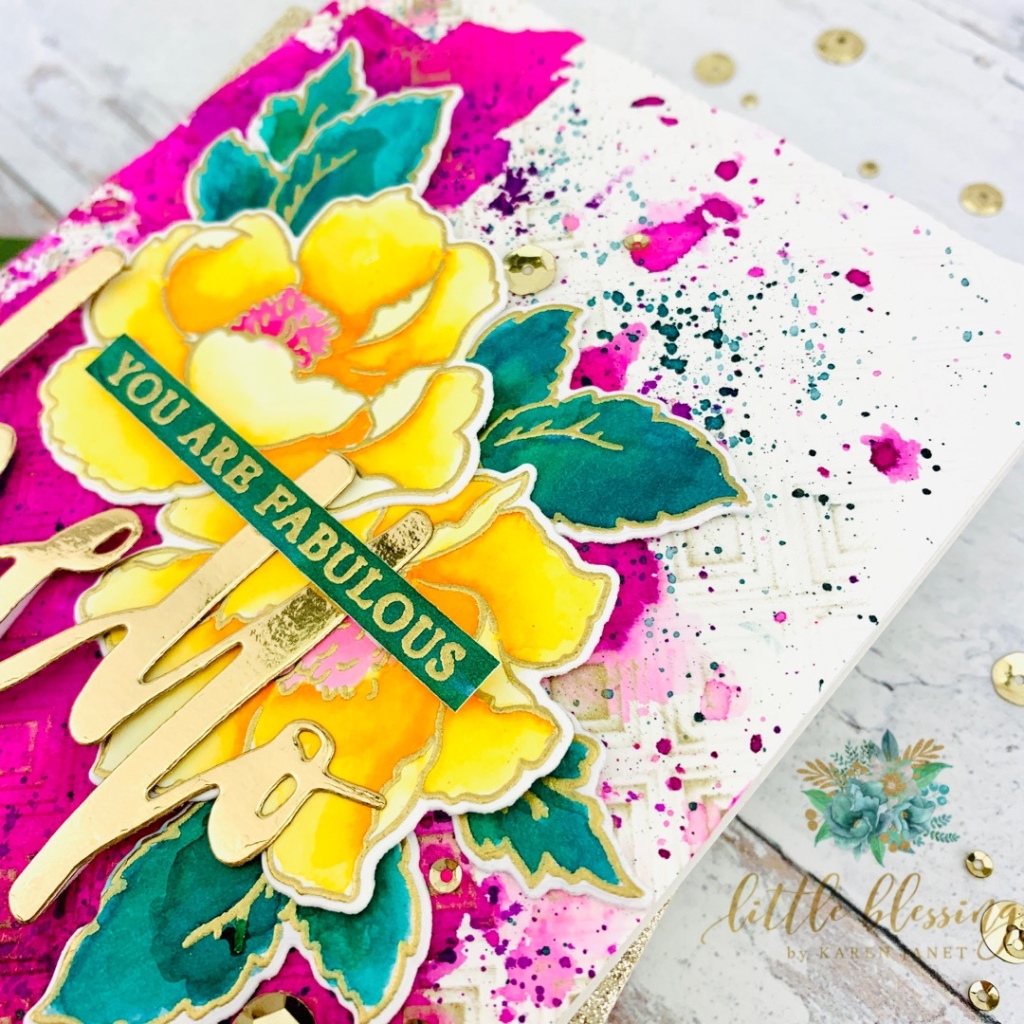
To be honest, I loved many classes so I decided to put a lit bit of three of them on this card: “All About Layering”, “Creating Watercolor Media” and “Let It Shine”.
Let’s start!
To create my background I used Watercolor Brush markers and I made this organic look with lots of splatters but I didn’t covered the whole panel so the background would have some movement. The colors of watercolors I used on the panel are Rubellite, Midnight Violet and Emerald. These colors belong to the Spring Garden set.
Once my panel was dry, I placed it inside the Mod Squares 3D Embossing Folder and run it through my die cutting machine. Next, I added a white folded note card at the back using glue.
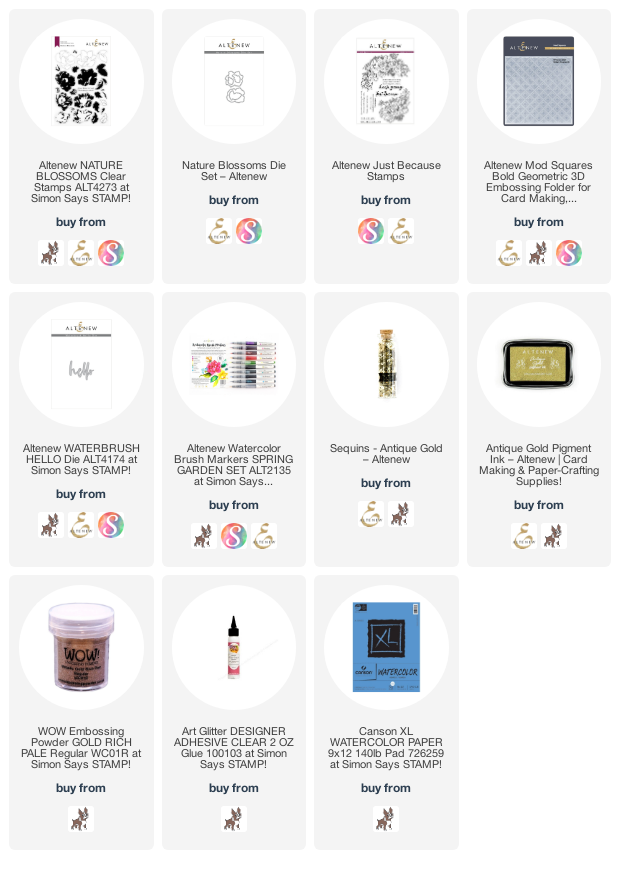
Then, I added some touches of Antique Gold Pigment over the embossed panel. Additionally, I gold heat embossed some flowers and leaves from the stamp set Nature Blossoms. I watercolored these flowers and leaves using more of the Watercolor Brush markers. The colors I used were Fresh Lemon, Sunkissed, Emerald and Desert Night. Using the matching die I die cut all these images.
I arranged all flowers and leaves on top of my panel using glue and foam tape. Also, I die cut the Waterbrush Hello Die out of golf foil paper and placed it on top of my arrangement. Finally, I watercolor a piece of watercolor paper using Emerald Watercolor Brush marker and once it was dry I gold heat embossed my sentiment and added it to my background along with some sequins and this card was finished.
I hope you like this card and get some inspiration. You will find all the products I used down below. Don’t forget to participate in the IG Hop and leave some love to the other designers. Thank you so much for stopping by and have wonderful weekend!
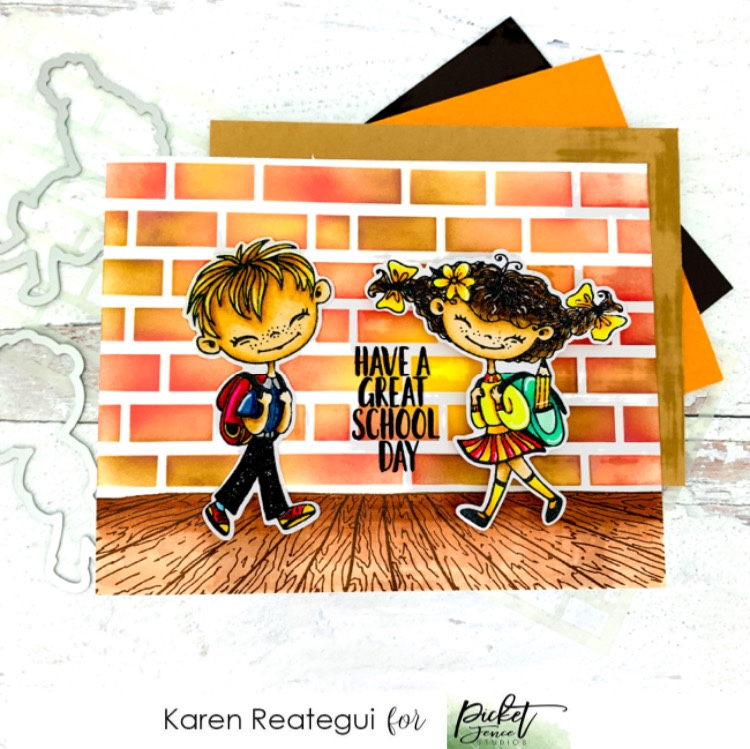
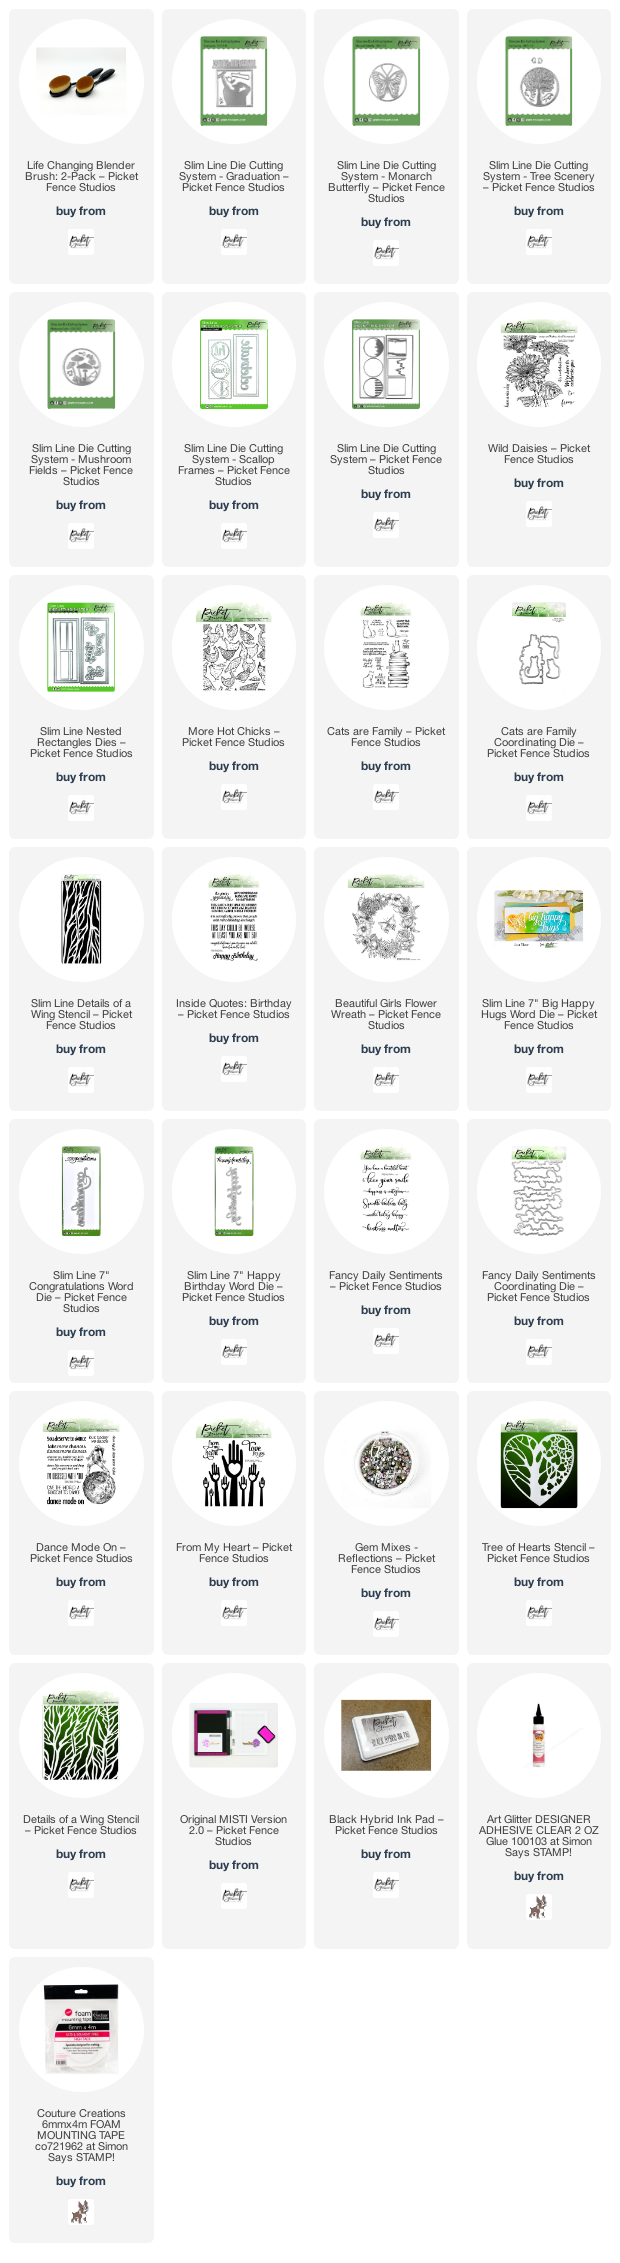
Hi crafty friends! And a new release from Picket Fence Studios is here! The April release is full of wonderful new products and to show case them I have made 5 cards and I will be telling you step by step how I made this Wild Daisy slimline card. Also, below you will find more pictures of the other cards I created for this release and the link to all products (Affiliated links at no cost to you!).
Let’s start! Using the new Scallop Frame Slimline Die I die cut a piece of watercolor paper. I created this organic and natural look for this background using yellow, orange and green watercolors. As you can see I used lots and lots of splatters all around the panel. Then, once my panel was dry, I adhered a folded slimline card at the back using glue.
Next, with the help of my MISTI I stamped the Wild Daisies Stamp onto piece of Neenah Classic Crest Solar White using Picket Fence Studios Black Hybrid ink and colored them using Copic Markers. When I finished coloring I fussy cut the whole image, added foam tape at the back and placed it at the bottom of my panel.
Finally, I die cut the Slimline Big Happy Hugs out of two different colors of green cardstock in order to create a shade underneath. I added this word dies to my panel using glue and this card was ready!
My next card features this small scallop circle and “hi” word die from the Scallop Frame Slimline Dies.
For the following card I have created a shaker card and I’m show casing the new “celebrate” word die also part of the new Scallop Frame Slimline Dies.
This card features the Monarch Butterfly die cut out of gold glittery cardstock.
And finally I have created this slimline card featuring the new Cats are Family Stamp Set and Details of a Wing Slimline Stencil.
I really hope I can inspire you with all these cards that I have made for this April release. You can click here to find all new products at the Picket Fence Studios store. Thank you so much for stopping by and have a marvelous day!
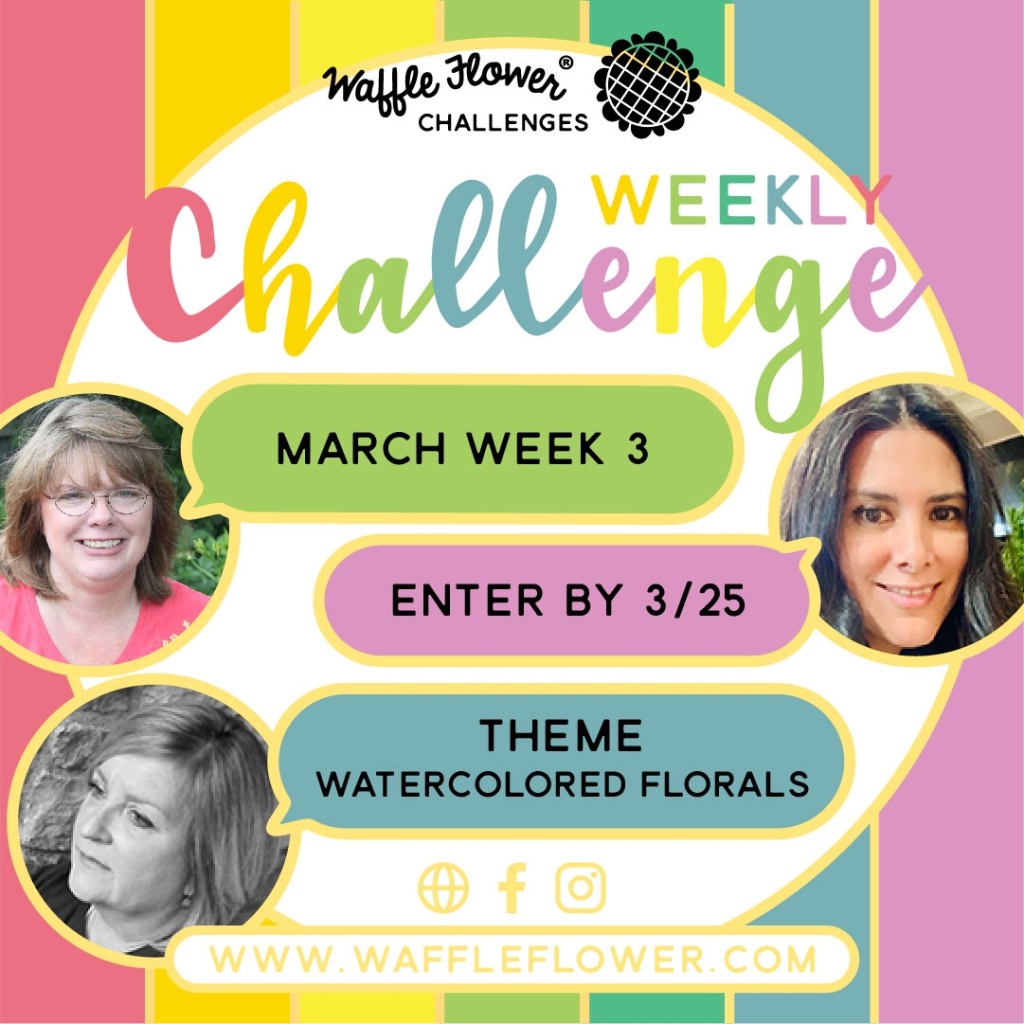
Hello crafty friends! Did you hear the news? Waffle Flower just started a new weekly challenge program! Each Waffle Flower Challenge (Link: https://waffleflower.com/challenges/) starts on a Friday and runs for a week! This week’s challenge is hosted by their design team member Jeanne. Michelle and I are so excited to be co-hosting the challenge by sharing our creations on 3 platforms: Blog (Link Party), Instagram and Facebook! Check out all the details below!
This week, we challenge you to use watercolored florals in your projects!
Hope you would join us in the challenge fun! There are awesome rewards!
And here is my take on the challenge:
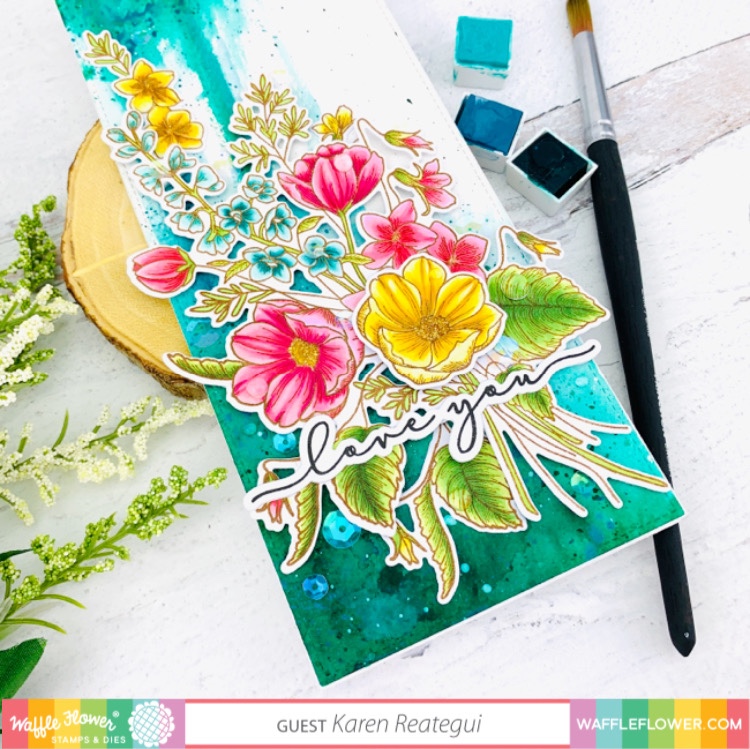
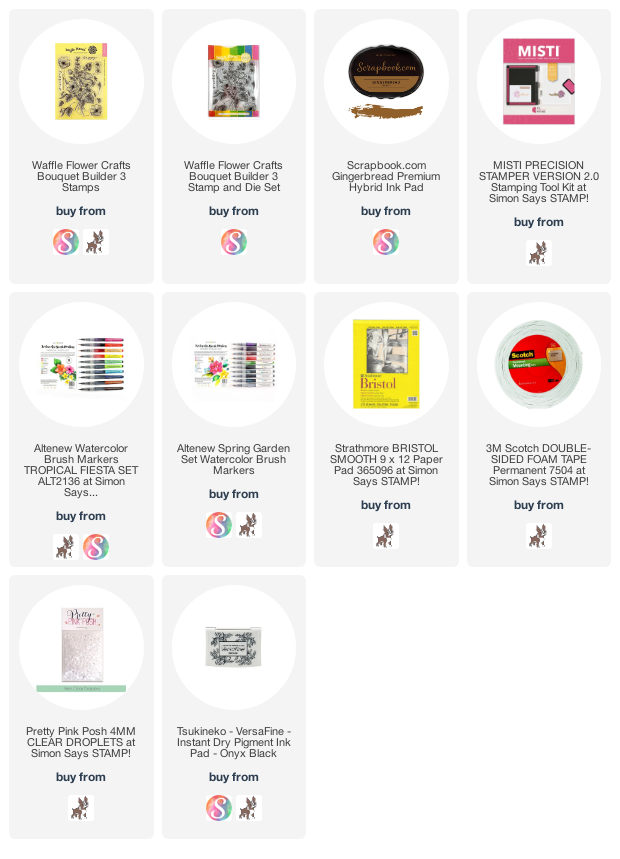
For these cards I’m featuring the Bouquet Builder 3 and Sentiment Additions Stamps and dies from Waffle Flower
I stamped these bouquets using Gingerbread hybrid ink from Scrapbook and colored the flowers and leaves with Copic markers.
I die cut the bouquets and additional flowers and leaves using the coordinating dies.
Above you can take closer look of the flowers. And by the way, this stamp set is absolutely gorgeous!
My backgrounds were created using watercolors and for this card I used teals and aqua colors to make the flowers and leaves pop up from the background. I really love all that contrast of colors on this slimline watercolor card.
I added the bouquet to my background using foam and glue. Finally, I stamped the “love you” sentiment using black ink, die cut it using the matching die and placed it on top of the bouquet.
My second card was created following the same steps as I did with my first card.
But this time, the watercolor background was created using green and yellow colors. That organic look on both cards is exactly what I wanted to create when I first visualized these cards in my mind.
Again, here you can see all the contrast of colors between the flowers and the background.
I really hope you liked these cards that I created with tons of love for all of you. Also, I hope I can inspire you I want to encourage you to play with us in this awesome challenge all this coming week. On Instagram use hashtag #WFC2103W3.
I can’t wait to see all your wonderful floral creations using watercolor. Good luck and have a marvelous day!
Hello crafty friends! Today I have this card part of the Masking Unleashed class from Altenew Academy. On this class I learned different techniques for masking and I chose this one where you can create beautiful backgrounds. Additionally and since mask stencils are very popular now, I used the negative parts of a stencil to mask my flowers and create a background. This technique is fantastic and a great way to create a quick and unique background. I haven’t tried this technique before but I’m already a fan of it.
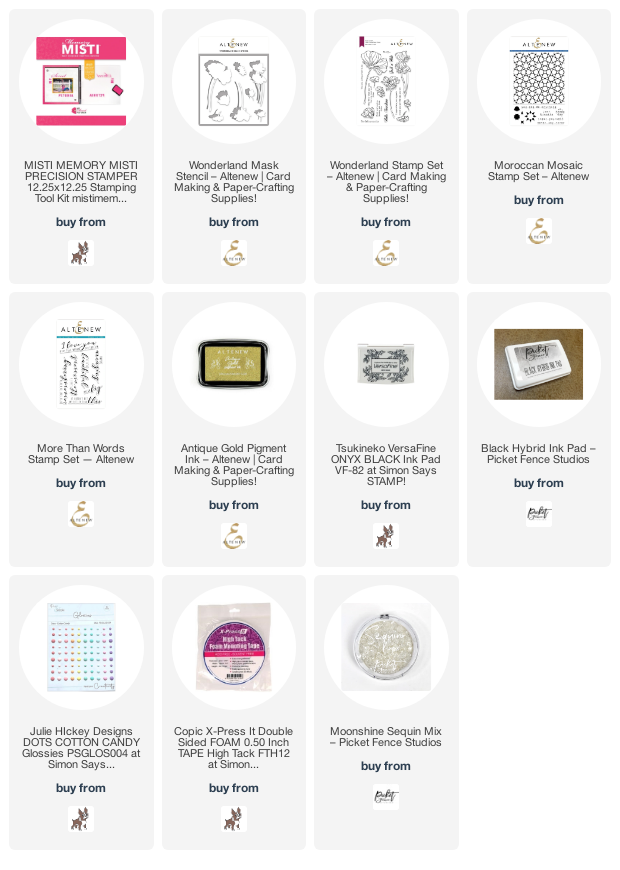
For this card I used Wonderland Stamp Set, Wonderland Mask Stencil, Moroccan Mosaic Stamp Set, More than Words Stamp Set for the sentiment and Antique Gold Pigment ink for my background.
Let’s begin, I started by stamping my flowers on a piece of Neenah Crest Solar White 80 lbs. I used the corresponding negative parts of the mask stencil for the flowers at the bottom. I stamped with a copic-friendly black ink.
Next, I removed the mask stencils and I colored the flowers using Copic markers. Once I finished coloring I placed the corresponding negative parts of the mask stencil on all flowers. I needed all flowers to be masked so I can stamp on top of them.
To stamp the Moroccan background stamp I had to use my biggest MISTI so I can re stamp with no problems. I did have to re stamp at least 4 times using the Antique Gold Pigment Ink and I can say that even with those layers of the mask I had a pretty decent impression.
At the end I trimmed down the top and bottom part of this panel and adhered a white folded card note using foam tape. Then, I stamped the sentiment using More than Words Stamp Set with black ink, added a few embellishments, sequins and this card was ready.
I’m so grateful for this class where I have learned a lot of tips an techniques. Masking is a whole new world where you are going to have so much fun. Thank you so much for stopping by and have a marvelous day!