Hello crafty friends! Today I’m really excited to be sharing my final challenge for Altenew Academy Level 2. I was assigned to create 4 masculine cards plus an altered item/upcycled project. For the cards I chose two themes: birthday and encouragement that are the ones I use the most. I will start presenting and explaining how I made the 4 masculine cards and at the end I will show you the altered item/upcycled project, which in this case was a recycled item.
For this challenge I have selected three components from Level 1 and 2. Here they are:
• Easy Die Cutting Techniques: Die cutting is one of my favorite techniques and for these cards I used this technique to create focal points in a very subtle way since I was creating masculine cards. I think masculine cards should be clean and simple so I used a few elements like frames, word dies and feathers that I die cut using different materials like vellum and washi tape, making the layers more interesting. TIP: By using different elements like washi tape or vellum you give your card a very unique look without having to add too many elements to your background.
Impressive Heat Embossing: I love to heat emboss. I could gold-heat emboss every single stamp because I believe you can achieve a sparkly and glamours look when using metallic or glitter embossing powders. Also, you can get different textures that will enrich your projects. TIP: Whenever you heat emboss over vellum you get a better impression and it looks so elegant and beautiful.
Beyond Basic Backgrounds: I love working on making my own backgrounds from scratch, whether is playing with watercolors, ink blending, alcohol inks, etc. It’s always fun to achieve unique backgrounds with different mediums and techniques. For these cards I’m using an Embossing Folder and Washi Tape, the combination is really awesome. TIP: Don’t limit yourself and try different things, getting out of your comfort zone helps to find new creative ways.
Masculine Cards – Birthday and Encouragement theme
Masculine cards are very challenging for many including me, but I have learned that masculine cards need to be as clean and simple as possible. I don’t always get this done but I think you can help yourself by choosing the right combination of colors and the elements that you will use on the card, depending on the theme of course. So, for these cards I chose the Tranquility mini cube set as my ink color combination and this set includes the following colors: Misty Morning, Cloudy Sky, Nimbus and Dark Night. Additionally, I went out of my comfort zone and I included Washi Tape for the first time ever. I have to say that this design is so elegant and definitely work perfect for male cards, so I have to admit that I truly enjoyed using washi tape. Also, I thought that using an Embossing Folder was the right element for these cards and I decided to combine it with the Foiled Marble washi tape. You have many ways to incorporate Embossing Folders and washi tape to your projects, so this can easily be another technique for the Altenew Academy. Lastly, for adding that touch of shine I used Metallic Gold Embossing Powder and Antique Gold Pigment ink, which is my favorite when playing with Embossing Folders. I combined all the previous supplies mentioned before with elements like feathers stamps and dies, word dies and frames throughout the four cards that I made, having the same color combination with unique designs at the same time. Now let’s continue with the process of making the cards.
Supplies
Mini Delight: Strength Stamp & Die Set
Fancy Celebrate Die
Nesting Frames Die Set
Foiled Marble Washi Tape
Mod Squares 3D Embossing Folder
Tranquility Mini Cube Set
Antique Gold Pigment Ink
WOW! Metallic Gold Embossing Powder
WOW! Ulla’s Cognac Embossing Powder
Large Ink Blending Tool
Mini Blossom Die Cutting Machine
Vellum
White cardstock
Gold mirror cardstock
Adding washi tape to a panel
Let’s start with the Encouragement cards.
For this first card I started with an A2 panel, where I applied Misty Morning and Cloudy Sky inks to only half of the panel and using the large Ink Blending Tool. Then, I added this fabulous Foiled Marble Washi Tape on top of the other half panel without ink. But before adding the washi tape I slowly ripped the edges. As my next step, I placed this panel inside the Mod Squares 3D Embossing Folder and run it through my die cutting machine. Also, I added a white folded note card at the back of this panel.
In addition, I applied Dark Night ink using the Large Ink Blending Tool to a piece of cardstock and then I die cut it with a die from the Nesting Frames Die Set. Then, on top of it I heat embossed the sentiment from the Mini Delight: Strength Stamp using WOW! Metallic Gold Embossing Powder. I added it to my background along with some feathers that I gold-heat embossed from the same stamp using foam tape and glue. As a final touch, I added to the background a bit of gold using the Antique Gold Pigment ink from Altenew.
In the picture about you can see some images of the process I made to create this background.
For the next card, I ink-blended a piece of cardstock using the Tranquility Mini Cube Set and the Large Ink Blending Tool. I covered the whole panel using all colors from the Tranquility ink set. Then, I placed only half of this panel inside the Mod Squares 3D Embossing Folder and run it through my die cutting machine. I trimmed down the edges a little bit too. Next, to visually create a division between the embossed and the non embossed parts, I added a strip of washi tape previously adhered to a piece of cardstock. I also, added a white folded note card at the back.
Using the Nesting Frames Die Set I die cut 3 frames, the first out of washi tape adhered to a cardstock, the second from gold mirror cardstock and the last one out of white cardstock. On this last frame I heat embossed the sentiment from the Mini Delight: Strength Stamp & Die Set, using WOW! Metallic Gold Embossing Powder. Additionally, I added two feathers that I stamped and die cut from the same stamp. Finally, I added over the embossed part a bit of gold using the Antique Gold Pigment ink.
The following card is a Birthday card and I started by placing one side of a white folded note card inside the Mod Squares 3D Embossing Folder and run it through my die cutting machine. Then, I applied to the whole embossed panel Cloudy Sky and Nimbu inks directly on top and not pushing too hard.
I also die cut two frames from the Nesting Frames Die Set, out of washi tape and another from white cardstock. On this last frame, I applied Cloudy Sky, Nimbus and Dark Night inks on top using the Large Ink Blending Tool. Then, I added these frames to the background plus two feathers that were heat embossed on vellum using WOW! Metallic Gold Embossing Powder. Last, I die cut the Fancy Celebrate Die from white cardstock and placed it on top of the frames.
For my last birthday card I ink-blended a panel using all inks from the Tranquility Mini Cube Set. Then, I placed this panel inside the Mod Squares 3D Embossing Folder. Adhered a white folded note card at the back and I applied the Antique Gold Pigment Ink directly on top of this panel. The gold definitely enhanced the colors from the background.
Next, I die cut the Fancy Celebrate Die and I only heat embossed half of the word using WOW! Metallic Gold Embossing Powder. Finally, I added the celebrate word to the background along with some feathers die cut from vellum and washi tape.
Above you can take a look at how I made the background for the last birthday card.
Upcycled Item
Now let’s jump into the recycled item and for this project I decided to use one of my aprons, it’s not new, I got it like two years ago and I’m not planning on replacing it because this was a special gift to me. I love coffee and my aunt has a business where she sells organic products. Her Organic Gourmet Coffee is one of my favorites so this apron was given to me by her, it was part of her launching marketing campaign.
So I wanted to give this apron a new look and to add some of my personal touch to it by stamping. The stamp I used was Coffee Love Stamp Set & Die Bundle along with Evergreen ink from Green Fields Mixed Media Ink Bundle, which are perfect for stamping over fabric.
So, I started working on this project by washing the apron and once it was dry I ironed it until it was wrinkles free. Then, I got a large stamping block and created a collage on it using some stamps from the Coffee Love Stamp Set. I inked up the stamps using the Evergreen ink and pressed hard enough on top of the apron to transfer as much ink as possible.
Next, I stamped the Coffee Ring Stamp over the pockets. I didn’t cover the whole pockets, I just made small designs around them and once I was finished stamping I got my iron back, placed a piece of paper towel over my stamped designs and heat set all of them with the iron. This way the ink won’t fade and it became permanent. I loved giving this apron a second life and with my personal touch, thanks to Green Fields Mixed Media Inks this process was easy and fun to achieve.
As you can see here I decided to make a matching coffee card for my apron. We are coffee lovers in my family so this card will be handy! I used Green Fields Mixed Media Inks to stamp on my background using Coffee Ring Stamp and the coffee beans from Coffee Love Stamp Set. I did first, second and third generation stamping and I loved how you can achieve this look with the mix media inks. I also added some splashes of ink using Paper Bag Watercolor Brush.
Once I finished stamping I heat set my background using a heat tool and I adhered a white folded note card at the back. I also created a watercolor panel using Paper Bag Watercolor Brush, Milk Chocolate Ink and Forest Glades mix media ink. Then, I stamped some images from the Coffee Love Stamp Set using Black Jet Mix Media Ink.
Finally, I die cut the images using the coordinating dies and I placed them on top of my panel using glue and foam tape for more dimension. My sentiment was from Coffee Ring Stamp and I used Black Jet Mix Media Ink to stamped it.
I really hope you like these masculine cards and my new apron. I cannot wait to try more mixed media inks on a T-shirt. I think I can create a very special Mother’s Day present for my mom and sister. Below you will find all supplies I used to make the coffee card and to stamp on top of the apron.
Supplies
Coffee Love Stamp Set & Die Bundle
Green Fields Mixed Media Ink Bundle
Coffee Ring Stamp
Stamping blocks
Milk Chocolate Ink
Paper Bag Watercolor Brush
Mini Blossom Die Cutting Machine
Watercolor paper
Espresso Envelopes
Thank you so much for stopping by and have a fabulous day!
Hello friends! I had such relaxing time making this card using ink sprayers from Altenew. This card is part of the Creative Watercolor Media and the lesson that I wanted to try had re-inkers but since I don’t have them I decided to use ink sprayers. I would never thought of using ink sprayers to watercolor but I’m glad I tried this, the inks worked wonderfully! And this is another way to stretch your craft supplies.
The stamps and dies for this card are the following: Nature Blossoms and Pinstripe. The ink spray colors are: Lavender Fields, Warm Sunshine, Forest Glades and Ocean Waves.
Let’s begin! On an A2 watercolor panel I added water using a brush, then I sprayed Lavender Fields ink spray on top and more water to move the ink. As my personal touch, I added some strokes with another brush leaving marks of the brush around. Additionally, using the same Lavender Fields ink spray I added some splatters. Last but not least, more splatters of white and gold ink were added because I love splatters on my panels.
Next, I stamped the rounded images from the Pinstripe Stamp Set and heat embossed them using a metallic gold embossing powder. I totally love the mix media look that my background has. Once my panel was dry I trimmed down the edges and adhered a folded note card at the back using glue.
Now let’s move to the flowers. On a piece of watercolor paper I stamped the detailed stamps of the flowers and leaves from Nature Blossoms Stamp Set using an embossing ink and then I heat embossed them with a metallic gold embossing powder. I watercolored the flowers using Warm Sunshine ink spray and for the leaves I used a mix of Forest Glades and Ocean Waves ink sprays. Also, I brought back some tips I learned on Level 1 and added some details to the flowers using a colored pencil.
Finally, I die cut the flowers and leaves using the matching dies and arranged all these elements on top of my background using glue and double aided foam tape. I stamped the sentiment THANK YOU from the Pinstripe Stamp Set using black ink and I also adhered it next to the flowers. Some Crystal Clear Nuvo drops were added and this card was finished.
This class have many great tips for watercoloring using different medias in very creative ways, which is really helpful and fun. Also, from the ink leftovers I was able to create two more backgrounds by splotching the ink, isn’t that awesome?!
I hope I can inspire you with this card and thank you so much for stopping by! Have a marvelous day!
Hi friends! Today I’m sharing these two birthday cards featuring the Layering Flutterbies Stamp & Die Set from Julie Hickey Designs and for my sentiment I have Birthday Best Wishes Stamp Set also by Julie Hickey Designs. Julie, the owner of Julie Hickey Designs, was so kind to sent me these products and I have to be honest, I’m having so much fun playing with her stamps and dies. I love that most of her stamp sets already come with the matching die, isn’t that awesome? I totally recommend everyone this brand. If you have a chance please check her account on Instagram @juliehickeydesings.
Let’s begin! I started by die cutting the three butterflies from the Layering Flutterbies Stamp dies and I placed the the negative part in the MISTI. I will be using this negative part to align the stamps with the die cuts. Then, I place back the three die cuts inside the negative part and I stamp with white ink the teal butterflies using the Layering Flutterbies Stamp.
I repeat this process but this time I stamp the turquoise butterflies with WOW! Embossing Pad and then I heat embossed them using WOW! Metallic Brass Embossing Powder.
Next, I die cut a rectangular frame out of a light blue cardstock, which will be my card base. Using the Birthday Best Wishes Stamp Set I stamped and heat embossed on this card base with WOW! Metallic Brass Embossing Powder. Then, I adhered a white folded notecard at the back using glue.
Finally, I added the butterflies die cuts on top of the background using foam tape for more dimension. I trimmed down the edges and also added some jewels for the perfect last touch.
My second card was made following the same process.
I changed the placement for my sentiment on this card and for more contrast within the butterflies I used gray cardstock that was heat embossed using WOW! Metallic Brass Embossing Powder. The other color of cardstock for the butterflies was fuchsia and I stamped on them with white ink.
Again, as my last touch I added these jewels that I think were just perfect for this background.
I hope you liked these cards and try Julie Hickey Designs products. They have a great quality and wonderful designs too. Thanks for stopping by and have a phenomenal day!
Welcome back! Today I’m over WOW! Embossing Powder Blog sharing these Christmas tags and featuring the WOW! Mandala Stamp Set which I designed last year. This is my last blog post as a DT for this amazing company which I consider like family.
Back to crafting now. We are all busy with this holiday season and today I have three quick and beautiful last-minute tags that everyone can make to embellish some gifts.
Let’s shine! I had this beautiful pattered paper for a while and I decided to finally put it to good use. I die cut three tags using different papers and these will be like the base of my tags because I will be adding a second vellum tag on top of it.
Just like I mentioned, I die cut three vellum tags and I stamp the WOW! Mandala Stamp Set on top, changing the position of the stamp on each vellum tag so they look different.
Using my new Mini Misti, I placed each tag inside and inked up the Mandala stamp using WOW! Embossing Pad and then I heat embossed it with my always favorite WOW! Metallic Gold Embossing Powder. I attached each patterned paper tag with a vellum tag on top using some gold and white twine.
Then, using WOW! Christmas Baubles Stamp I stamped onto white cardstock three of the sentiments from the set using WOW! Embossing Pad. Next, I heat embossed all sentiments with WOW! Metallic Gold Embossing Powder. Finally, I added all sentiments to the tag using double sided tape and these Christmas tags are finished!
I wish you all a Merry Christmas and a truly wonderful and blessed New Year 2021.
Hello crafty friends! Today the Picket Fence Studios Design Team is so excited because the October release is here! We have lots of inspiration and great ideas for you! I also have a video tutorial at Picket Fence Studios YouTube channel featuring the new Honey Dear Stamp, I Bee Fierce Stamp and Honeycomb Stencil. Let’s start!
For my first card I created a background using Distress Oxide inks: Fossilized Amber, Spiced Marmalade, Seedless Preserve and Wilted Violet. Once it was dry I placed the Honeycomb Stencil on top and applied Nuvo Moonstone Glimmer Paste using one of the new Mixed Media Spatula from Picket Fence Studios and let it dry overnight.
Once it was dry I trimmed down a little bit the edges and then I adhered a white notecard at the back of the panel using liquid glue.
I stamped the sentiment from Honey Dear on vellum and heat embossed it using WOW! Metalline Perfect Plum Embossing Powder. I adhered this piece of vellum to my background using double sided tape. Finally, I stamped the image from the same stamp Honey Dear using Picket Fence Studios Black Hybrid Ink, I colored it using Copic markers and die cut using the matching die. Next, I added foam tape at the back and added to my card and this card was finished.
For my second card I created a shaker card, the process is bit difficult for me to explain so I recommend you to watch the video at Picket Fence Studios YouTube channel for all details. Let’s continue, I started by placing the Honeycomb Stencil on top of a white Strathmore panel and applied Golden Rose and Daffodil Yellow Paper Glaze on top using one of the new Mixed Media Spatulas from Picket Fence Studios and an stencil pad. I let it dry for 20 minutes and then applied heat using a heat gun to speed up the drying process.
To create the shaker window opening I used one border die. I placed this border die on top of my panel and run it through my die cutting machine then I repeated the same step, but this time I placed the border die a little bit below the first cut.
I put double sided tape around the opening of the shaker window at the back of this panel and also a piece of any plastic packaging big enough to cover the opening. I left some space to fill it with Black Russian Sequin Mix. Next, I closed this space and added foam tape around the back of this panel to adhered it to a white notecard.
I stamped one of the sentiments from I Bee Fierce Stamp Set on black cardstock and white heat embossed it using WOW! Opaque Bright White Embossing Powder and placed it at the bottom of the shaker window using double sided tape. Finally, I stamped the bees with more Black Hybrid ink, Copic colores them and die cut each of them using the coordinating dies and this card was done! Remember to head over to YouTube channel to watch a full tutorial from these two cards.
This is another card I created featuring the new Sponsored by Coffee Stamp Set and Die. My background was creating using paper glaze over Down to the Last Drop Stencil.
For this set I used the new Ash, Maple and Oak Leaves Dies. You have three different designs and two sizes. These dies are gorgeous!
On this card I’m featuring the new Slim Line Rainbow Stencil.
Here I have the new Coffee Cup Stencil. I applied WOW! Embossing Pad through the stencil and then heat embossed it using WOW! Embossing Glitters.
Hello crafty friends and Happy World Cardmaking Day 2020. WOW! Embossing Powder is celebrating this very special day with lots of inspiration and a GIVEAWAY. Leave a comment on each blog post for a chance to win a $25 gift card to either our UK or USA stores. You have until Wednesday, October 7th at 11:59PM British Summertime to leave your comments. Winners will be announced on Thursday, October 8th.
Do you know the history and meaning of WCMD?
Cards have played an important role in social circles for hundreds of years, playing a role as a thoughtful gift all the way to a necessary part of proper etiquette. Consider, if you will, the calling card of the Victorian era, a term that has become so ubiquitous that the signature element of a bomb-maker or a criminal is said to be their ‘calling card’.
A small piece of paper bearing one’s name and often a decoration of some kind, the calling card (Also known as a visiting card) was presented to the servants of a household that it might be delivered to the masters of the house to announce visitors.
It was this era of propriety that also developed the concept of a dance card, a card specifically carried by women to fill out with the names of the men they intended to dance with that evening. After all, with so many interested parties it just made sense to keep track of them so that you could, in earnest, indicate that your dance card was full and thus politely decline an interested suitor.
Card Making Day reminds us that the best gifts come from the heart, the hands and vision of the people we love, so get out there and try making a card of your own! Nowadays, with the advancements in technology and the rise of the Internet, some people have stopped sending cards altogether. Instead, they send email cards. While there is nothing wrong with this, no one can deny that receiving a beautiful card feels a lot nicer. This is especially the case when the other person has gone to the effort of making the card!
For this fabulous blog hop I have created a Christmas card using the Texture effect additive from the WOW! Changers Lightning Kit, WOW! Red Glitz, WOW! Cramberry Sparkle Embossing Glitter, WOW! Galaxy Glow Embossing Glitter and WOW! Metallic Gold Embossing Powder.
Also, I have used this fabulous Christmas stamp set “All is Calm” by Evelin T Designs and this word die “Jolly” by Catherine Pooler Designs.
Hello crafty friends! I’m so excited to be participating in this Blog Hop in Collaboration with My Sweet Petunia and Pinkfresh Studio. Today I’ll be sharing two cards that I made for this hop. Both cards have the same steps to follow, just different color combinations and they match perfectly!
PRIZES
My Sweet Petunia and Pinkfresh Studio will be giving away $50 shopping sprees to each company’s store, and those winners will be announced on each company’s blog this August 14th!
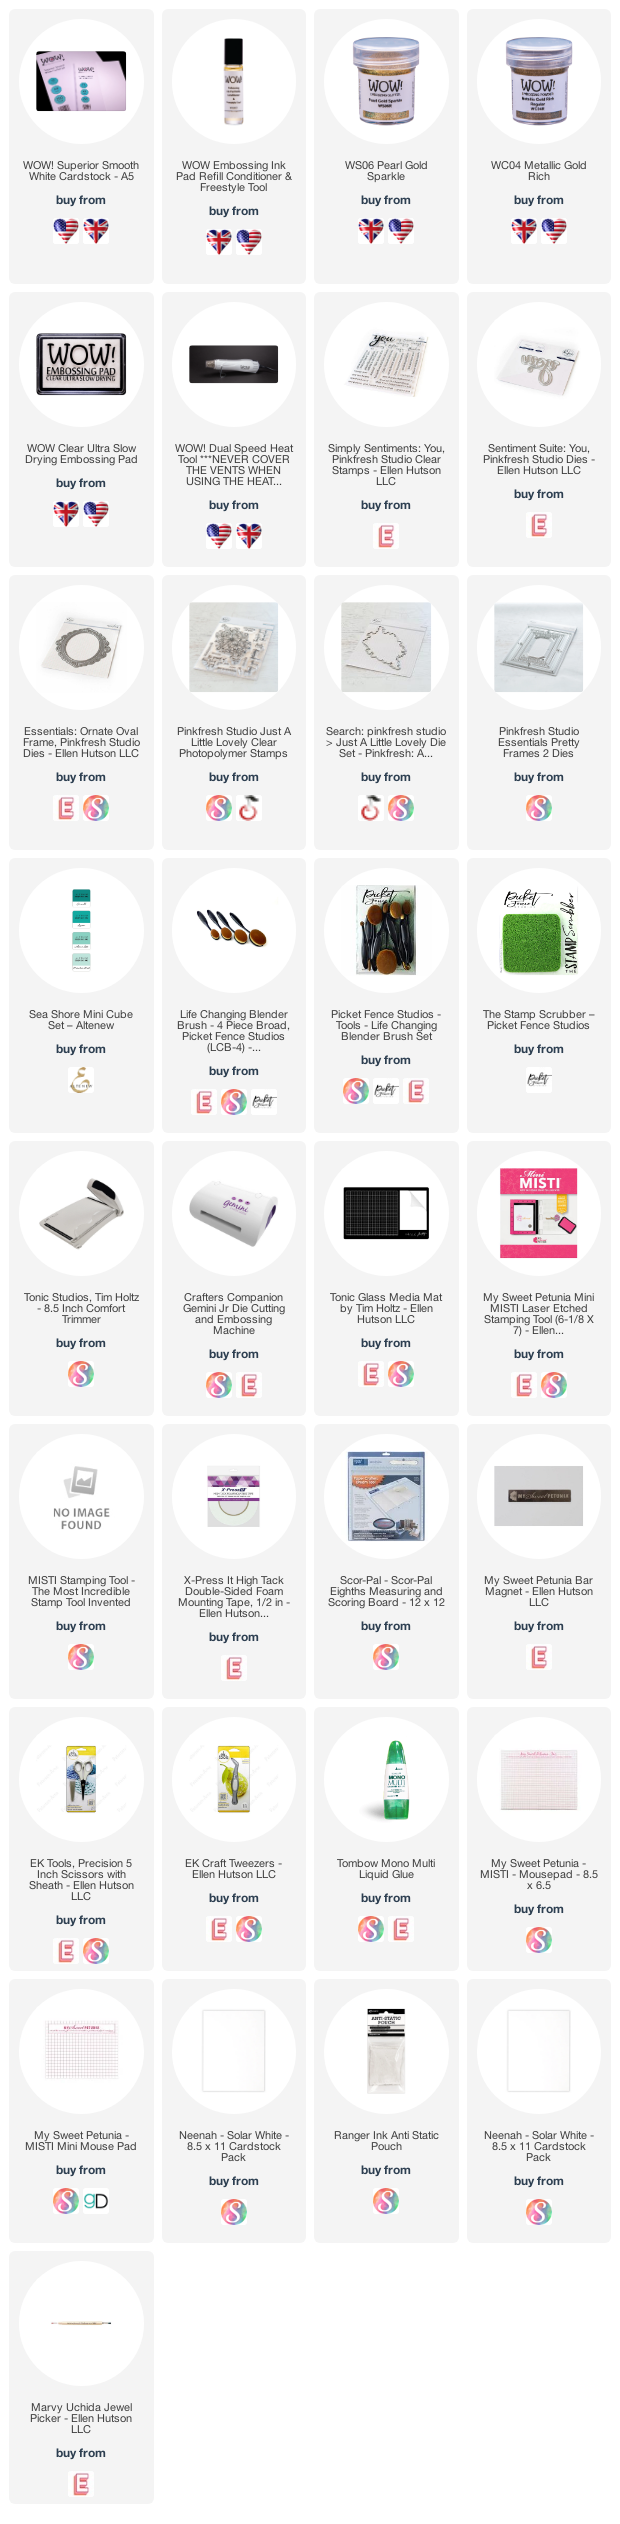
Hello friends! Today I’m sharing this card over WOW! Embossing Powder blog featuring WOW! Pearl Gold Sparkle Embossing Glitter. As you know our monthly challenge theme is Pearl Embossing Powders so I encourage you to enter your project and participate in the giveaway at the Facebook Fan page.
Let’s shine! I started by applying Sea Shore mini cube ink set to an A2 panel using the Life Changing Blender Brushes. Then, I die cut the Pinkfresh Studio Pretty Frames 2 Die using white cardstock and I only adhered the largest frame to my A2 panel.
Next, I die cut three times the Ornate Oval Frame Die from Pinkfresh Studio using white cardstock and I only added WOW! Embossing Pad to one layer and then heat embossed it using WOW! Pearl Gold Embossing Glitter. I glued the three die cuts one on top of each other using glue and added them on top of the panel.
Here you can have a closer look of all the shine from the WOW! Pearl Gold Embossing Glitter. As my next step, I stamp the Just A Little Lovely stamp set from Pinkfresh Studio using WOW! Embossing Pad and heat embossed it with WOW! Metallic Gold Embossing Powder.
I colored this image using Copic markers. Once I was finished coloring I placed this image on top of the panel using foam tape and added some details of Nuvo Crystal drops.
I also die cut the You Die from Pinkfresh Studio out of white and teal cardstock. I used the teal color to create a shadow for the white You die cut. Using glue I adhered this die cut to my background.
Finally, I stamped a sentiment from the You Stamp Set from Pinkfresh Studio using a teal ink and added to my panel along with some jewels and some wink of Stella to the flowers. A folded note card was adhered at the back and my card was finished.
I hope you enjoyed this blog post and thank you so much for stopping by. Have a wonderful weekend!
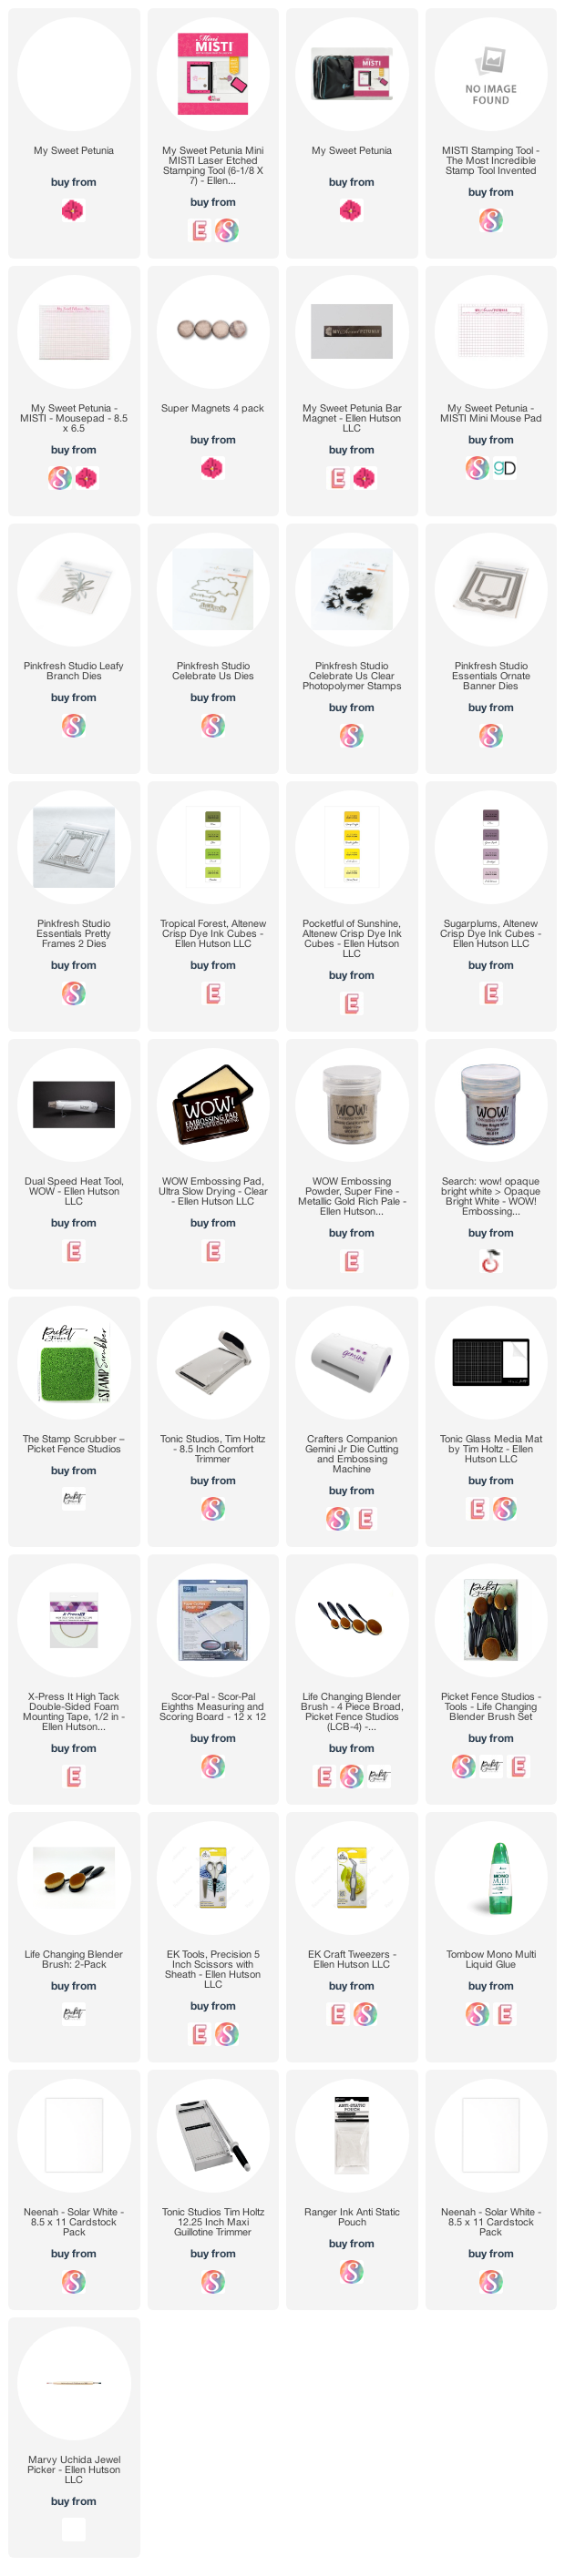
Hello friends! Today I’m sharing this card over My Sweet Petunia Blog. I’m using my Original and Mini MISTI along with Pinkfresh Studio stamp and dies.
Let’s start! With the help of my MISTI I stamped the Celebrate Us Stamp Set using Pale Mauve, Amethyst and Parrot inks from Altenew. The outline part was heat embossed with WOW! Metallic Gold Embossing Powder and then I die cut both flowers using the matching dies. You can see the process in the picture below. I simply rotated my cardstock inside the MISTI to stamp both images.
Next, I die cut twice the Leafy Branch Die from Pinkfresh Studio out of gold foil mirror cardstock.
I also die cut the two larger pieces of the Ornate Banner Dies out of white cardstock. I left the larger piece white and on top of the smaller I white heat embossed the outline of the flowers again and then applied Fresh Lemon ink from Altenew using a Life Changing Blender Brush.
Then, I embossed a teal cardstock using the Pretty Frames 2 from Pinkfresh Studio. I adhered a white folded note card at the back using glue.
On top I placed the white frame from the Ornate Banner using foam tape and the part with the heat emboss resist technique was added inside.
Finally, I arranged the flowers and leaves and added a thankful sentiment that was die cut three times out of white cardstock and glued one on top of each one to create a die cut stacked and get more dimension. Some jewels were added also and my card was finished.
Thank you so much for stopping by and have a great weekend!